Using filters
By default the dashboard shows every vessel at the terminals you track with an upcoming receiving date. Filters trim that to what matters right now. You can filter by:
- Text: Port, Terminal, Vessel, Voyage
- Date: ERD, ETD, CY Cutoff, Last Change
Adding a filter
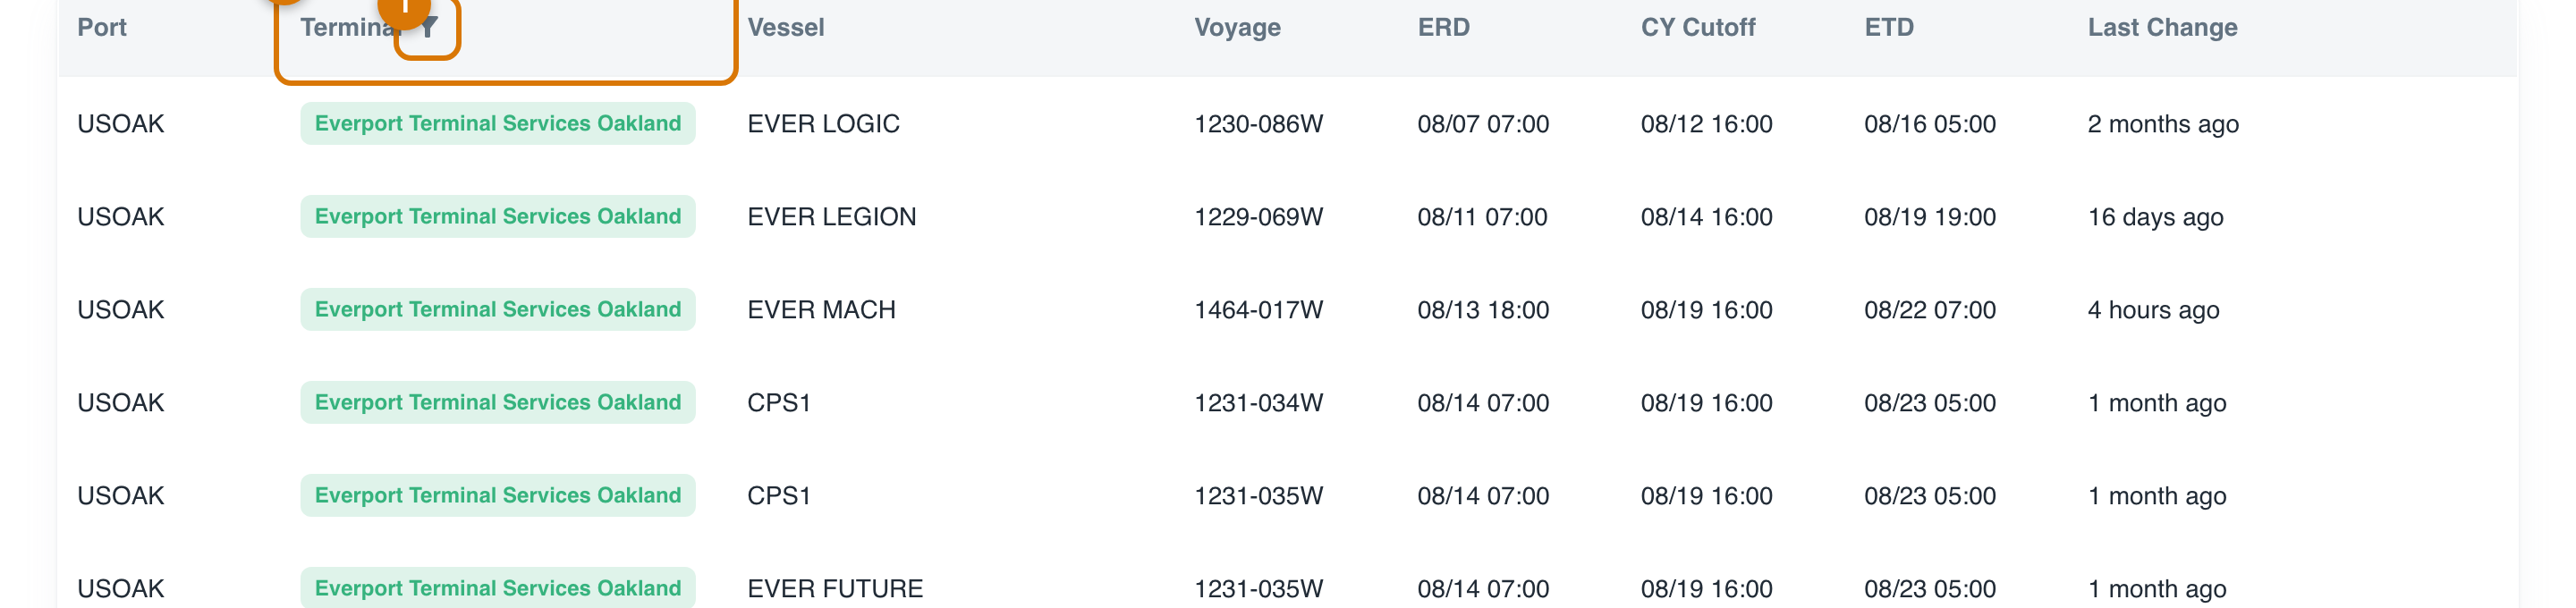
- Open the filter controls from the table toolbar.
- Choose the column to filter on (for example, Terminal).
- Pick a condition (for example, equals, or - for dates - is before).
- Enter the value.
Filters combine, so you can stack them. For example, Terminal = Oakland plus CY Cutoff is before [date] shows only what closes soon at one terminal. A common first filter is ETD within the next 7 days to trim the view to the immediate week.
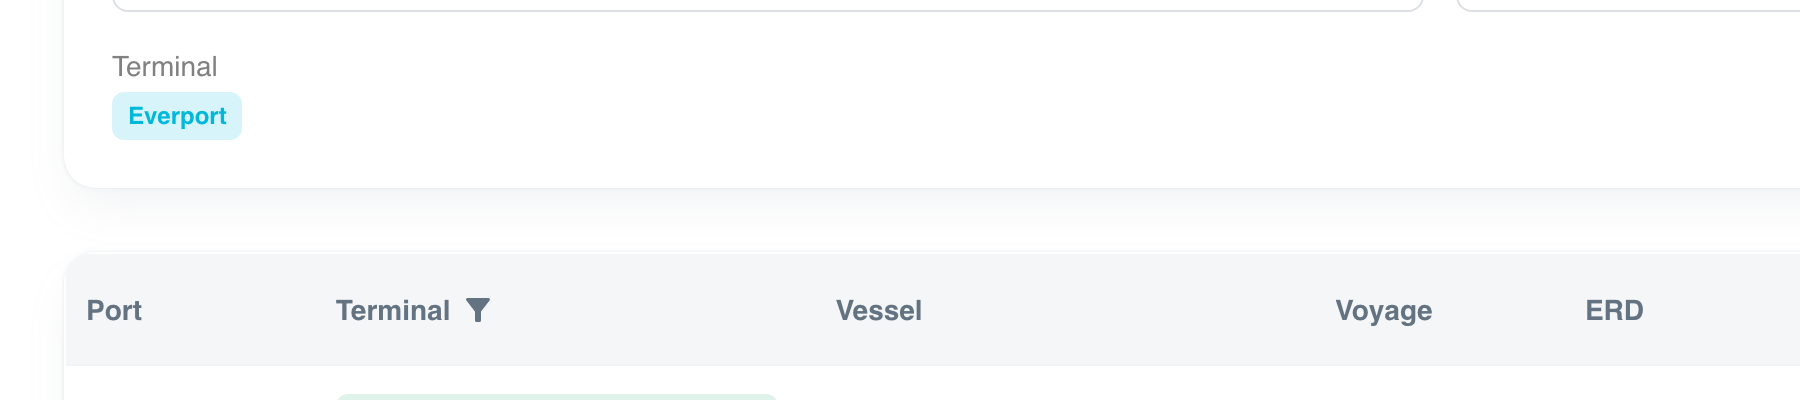
Saving a filter
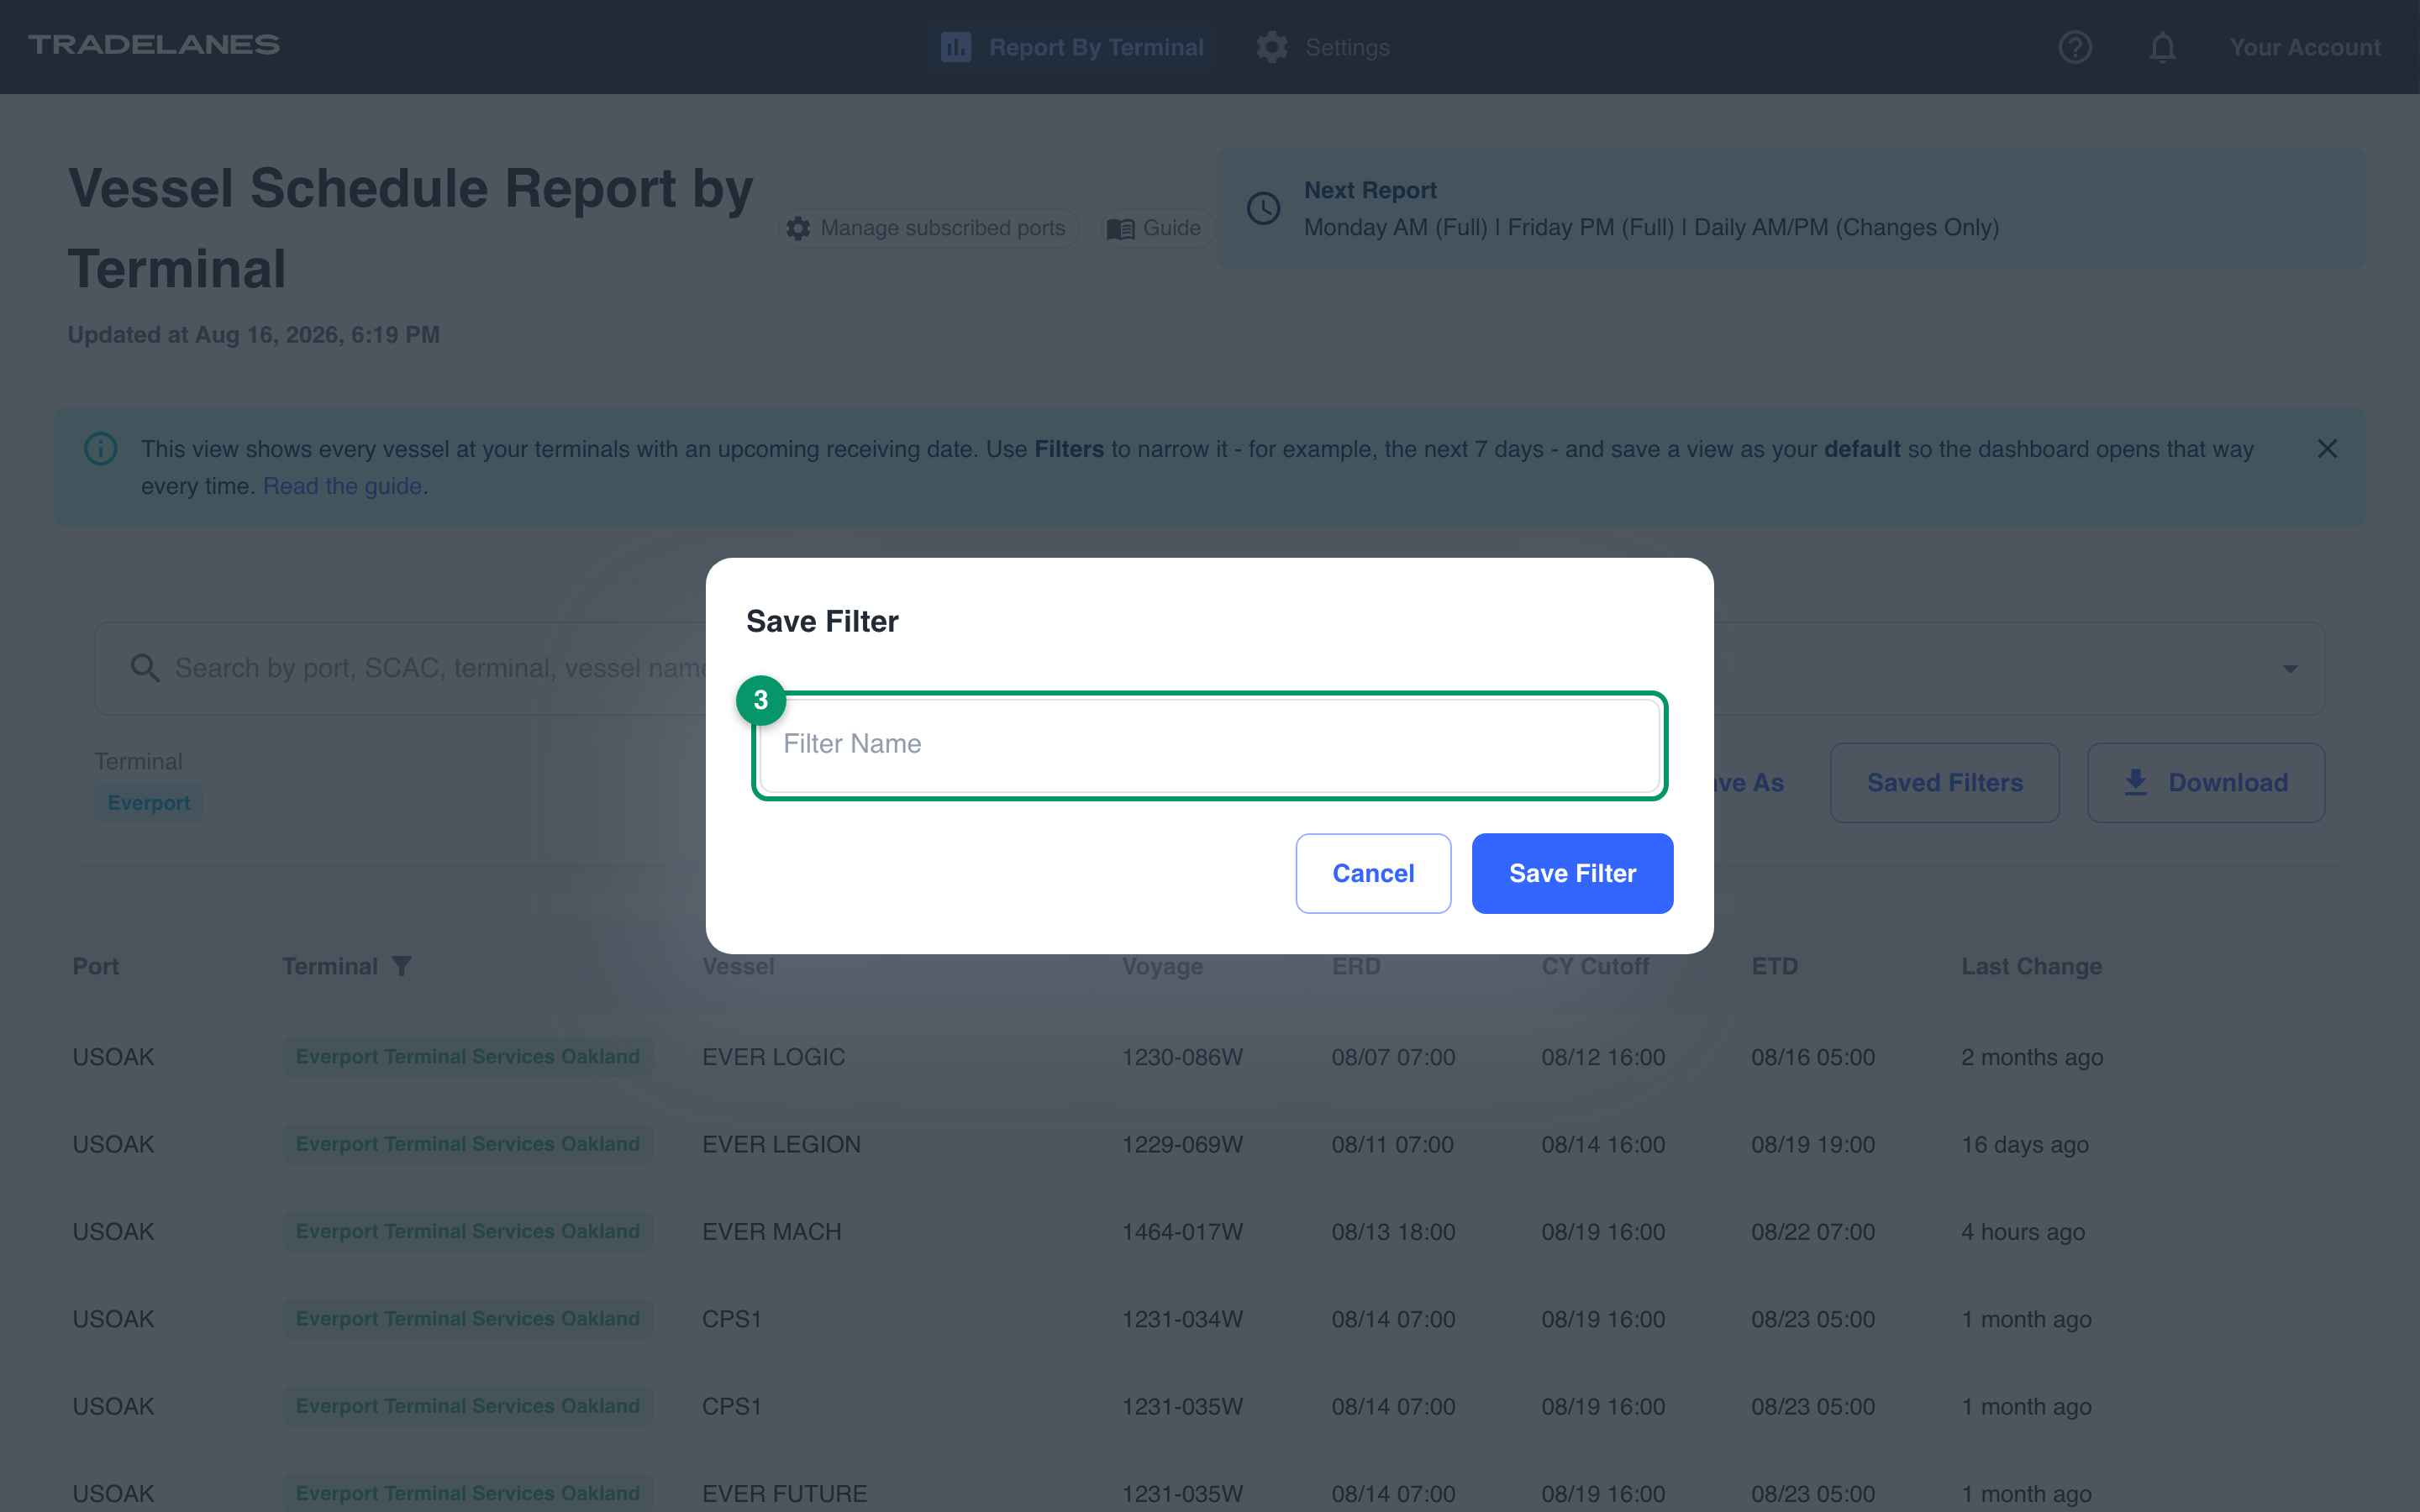
Once a filter set is the way you like it, save it so you do not rebuild it each visit. Saved filters live with your account, so any saved filter is one click to re-apply later. Give each one a clear name - for example, "Oakland - closing this week".
Setting a default filter
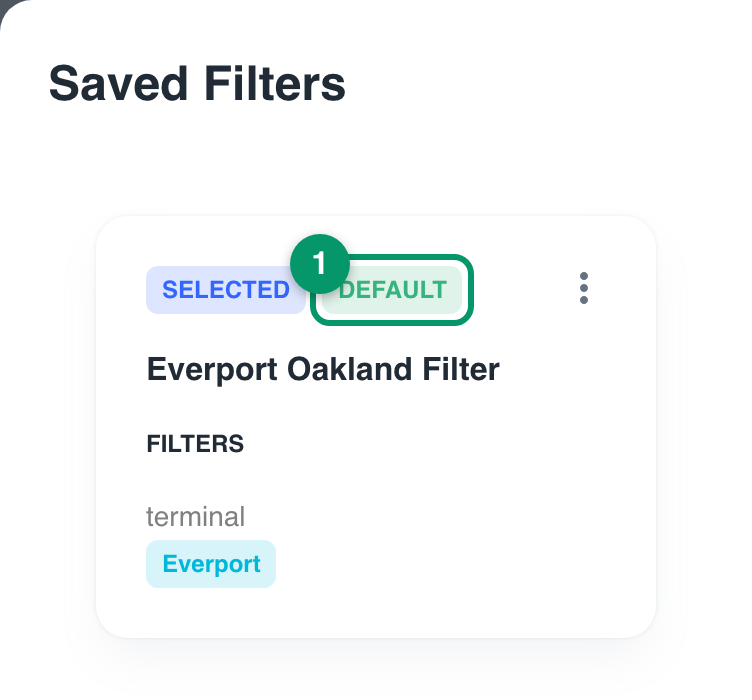
Mark one saved filter as your default and the dashboard opens with it already applied every time. This is the single most useful setup step: pick the view you look at most (often a near-term, one-or-two-terminal view) and make it your default, so the dashboard lands on your real workload instead of the full list.
You can change or clear the default at any time; clearing it returns the dashboard to the full default view.
Tips
- Save one near-term view (next 7 days) as your default, and keep a couple of terminal-specific saved filters for deeper checks.
- Each teammate keeps their own saved filters and default, even though you share one company account.
